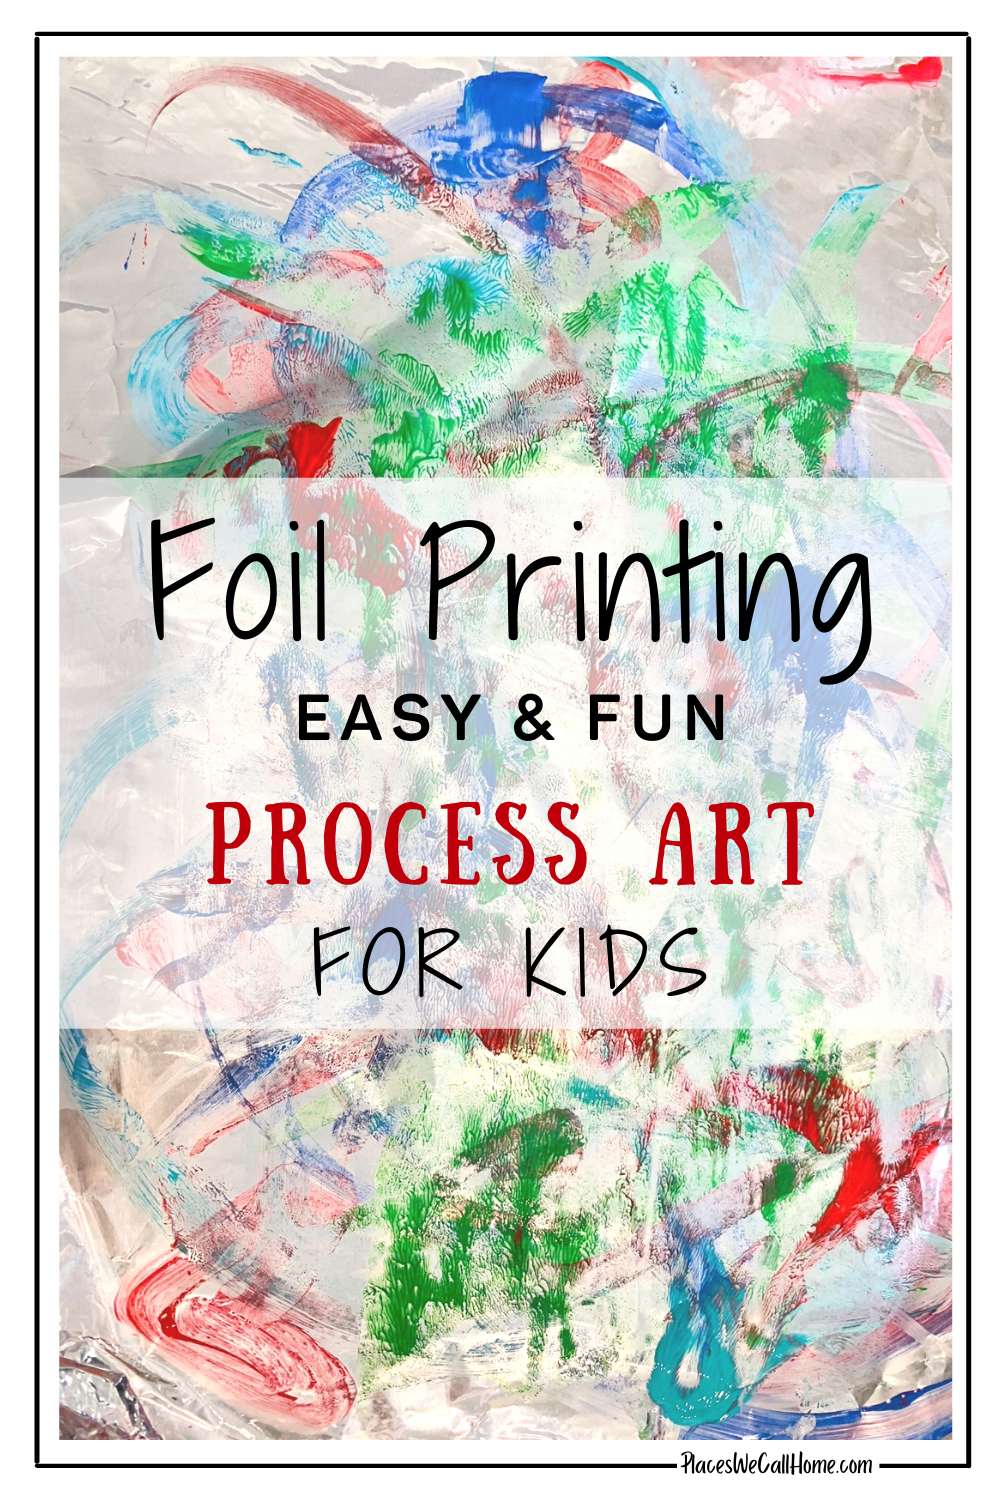
Foil Printing- Super Fun, Quick and Easy Process Art!

Want a quick, fun, no-special-supplies-needed art project that all ages can enjoy? This easy activity for kids makes a great keepsake, too! Process art for the win!
What? Does something like this exist?
Yeah! And… the best part…
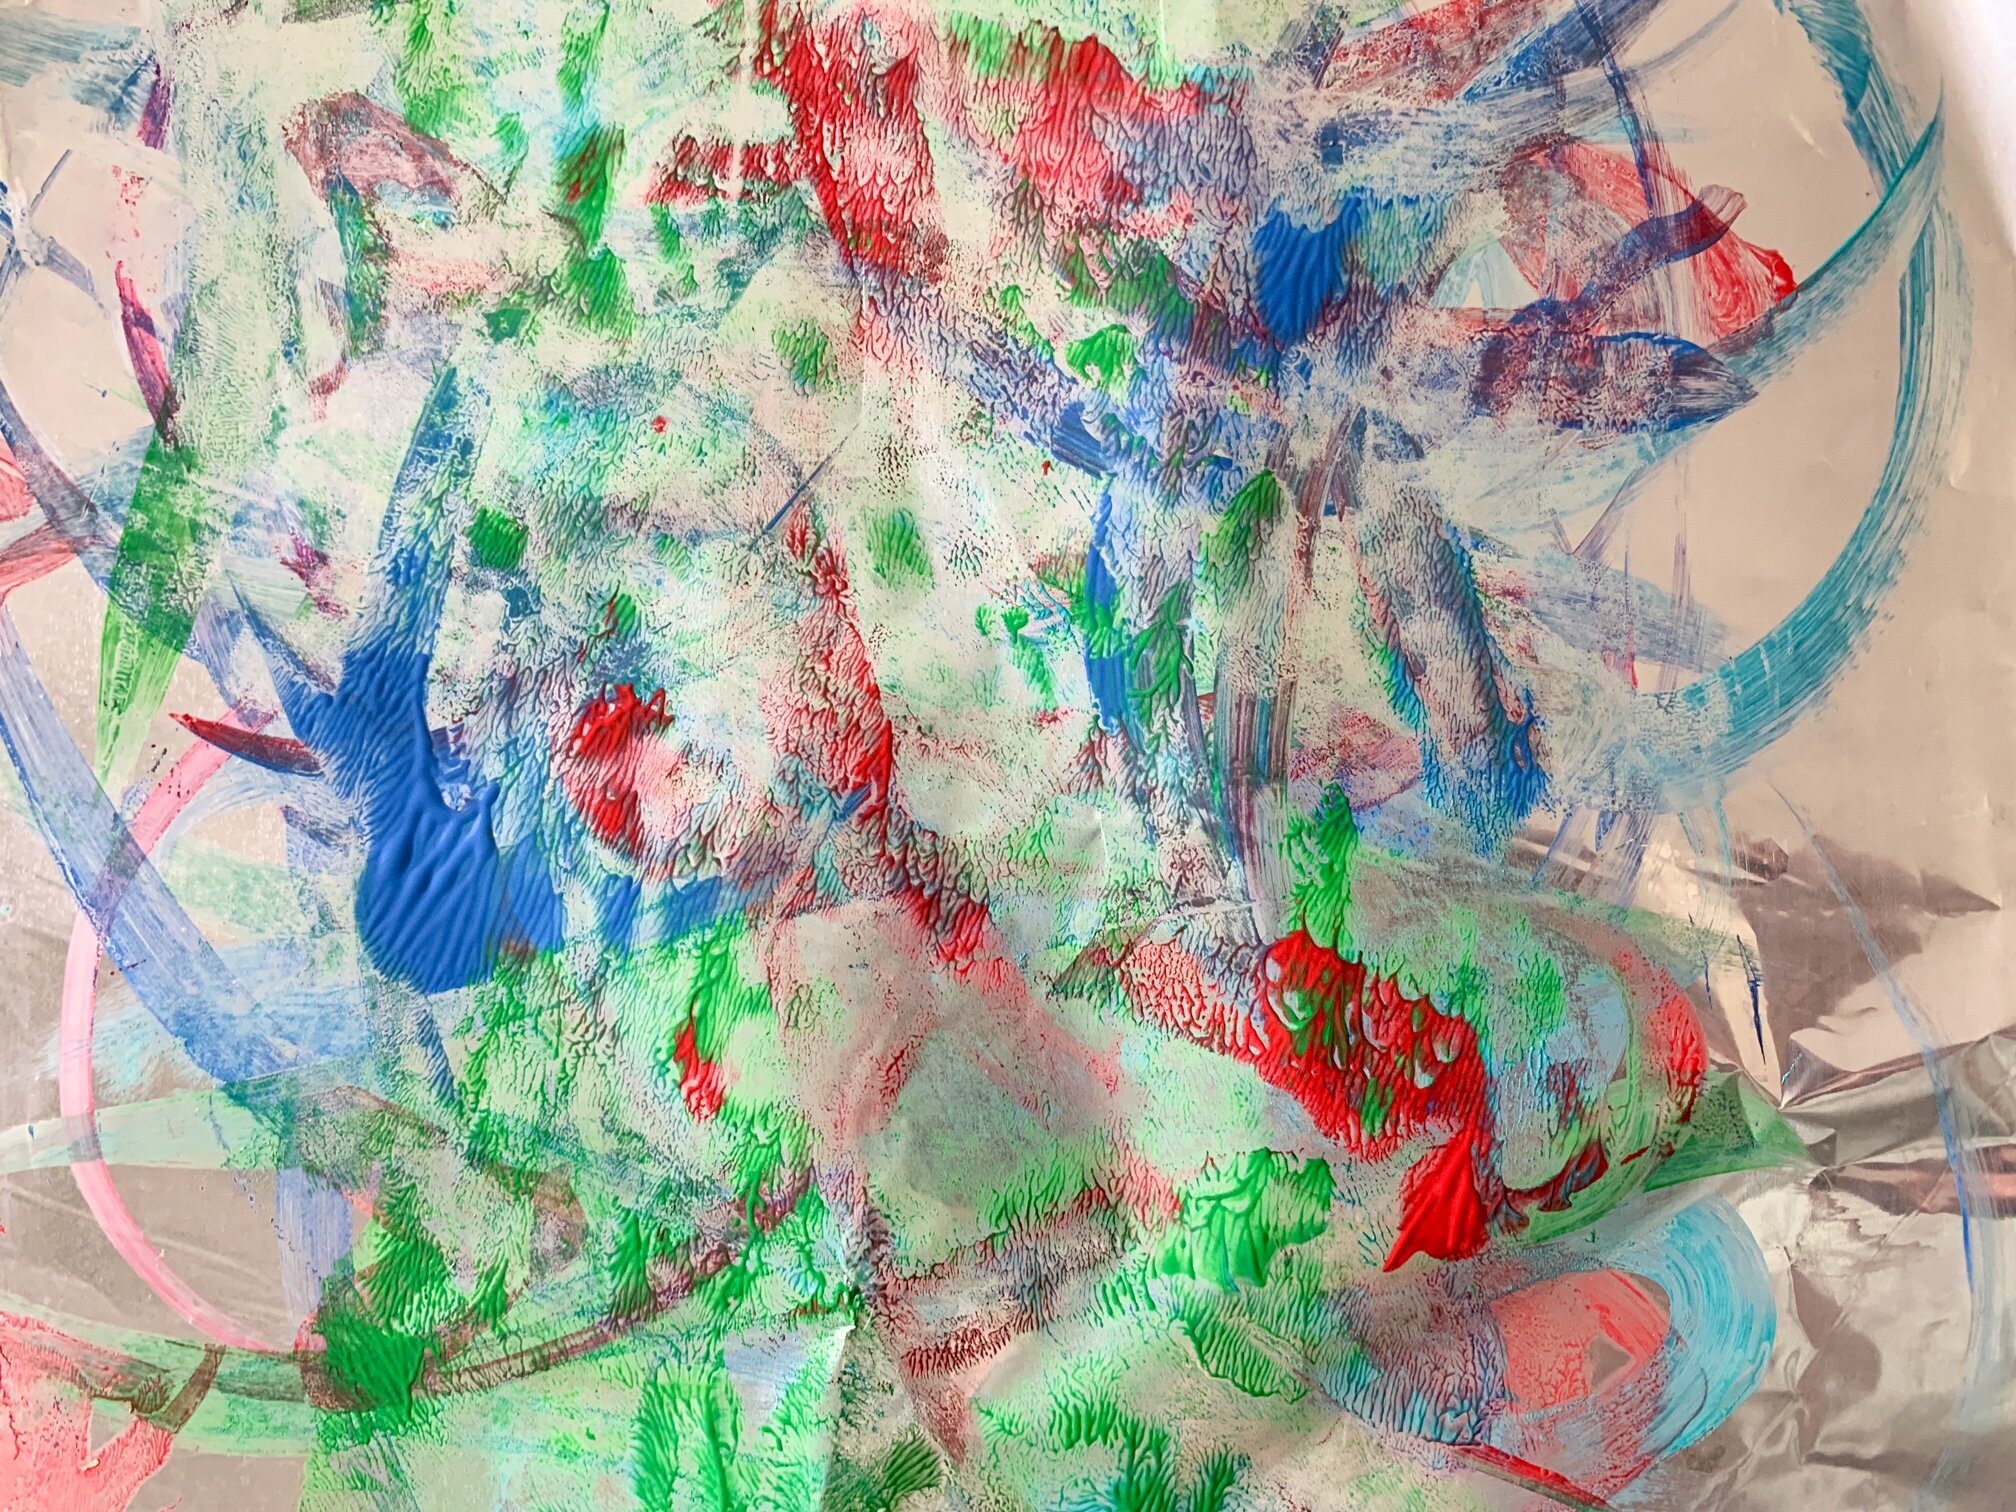
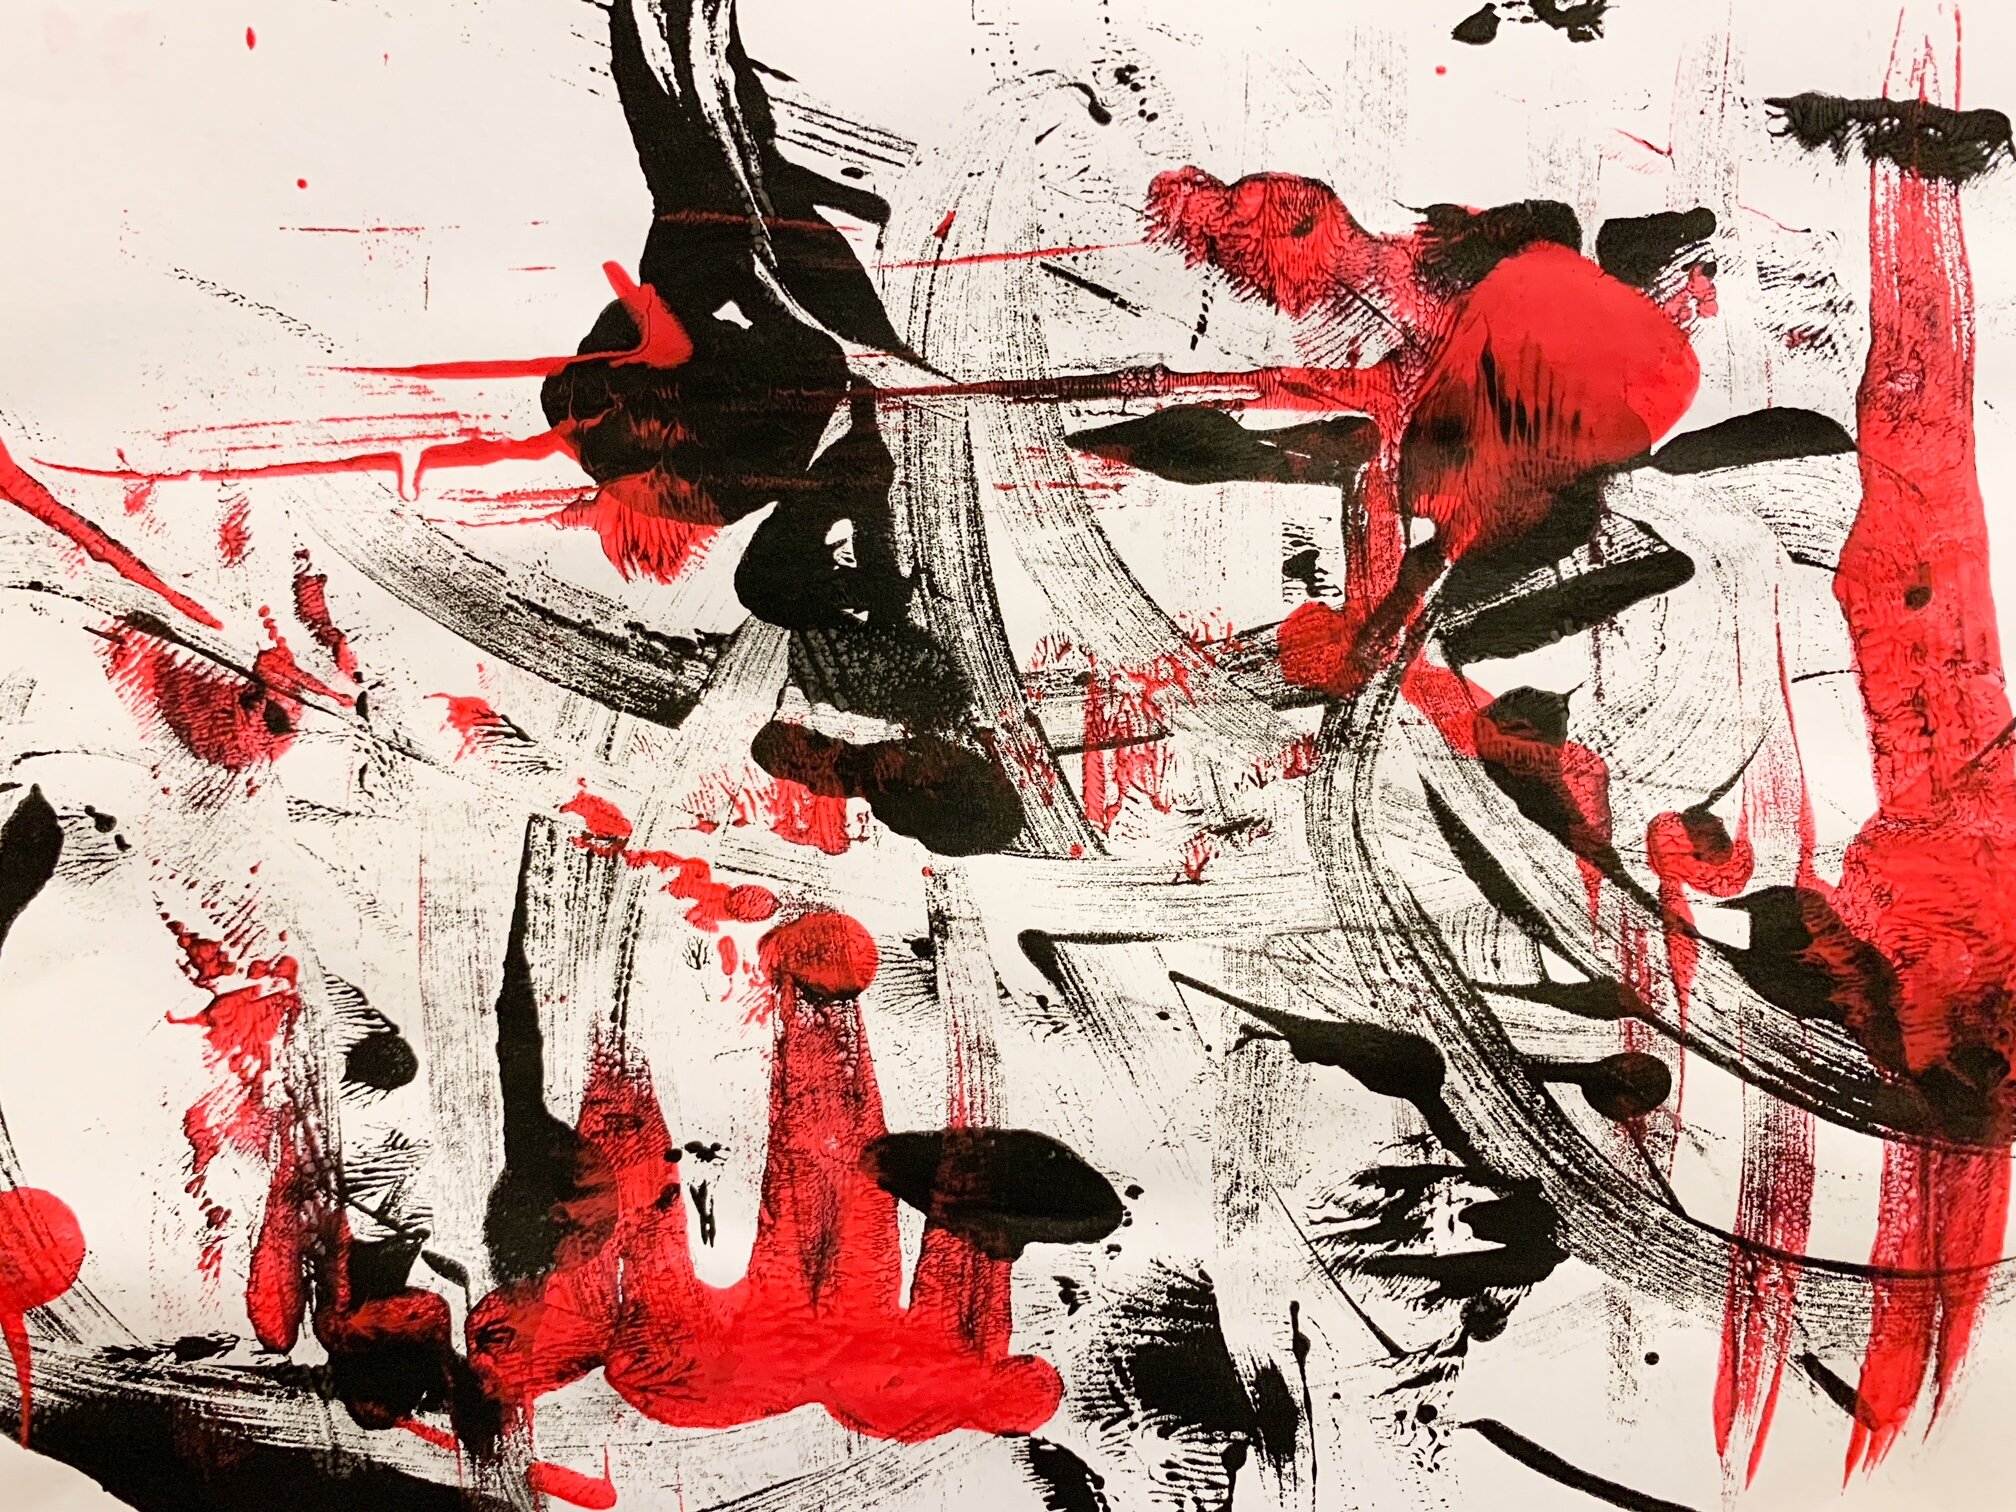
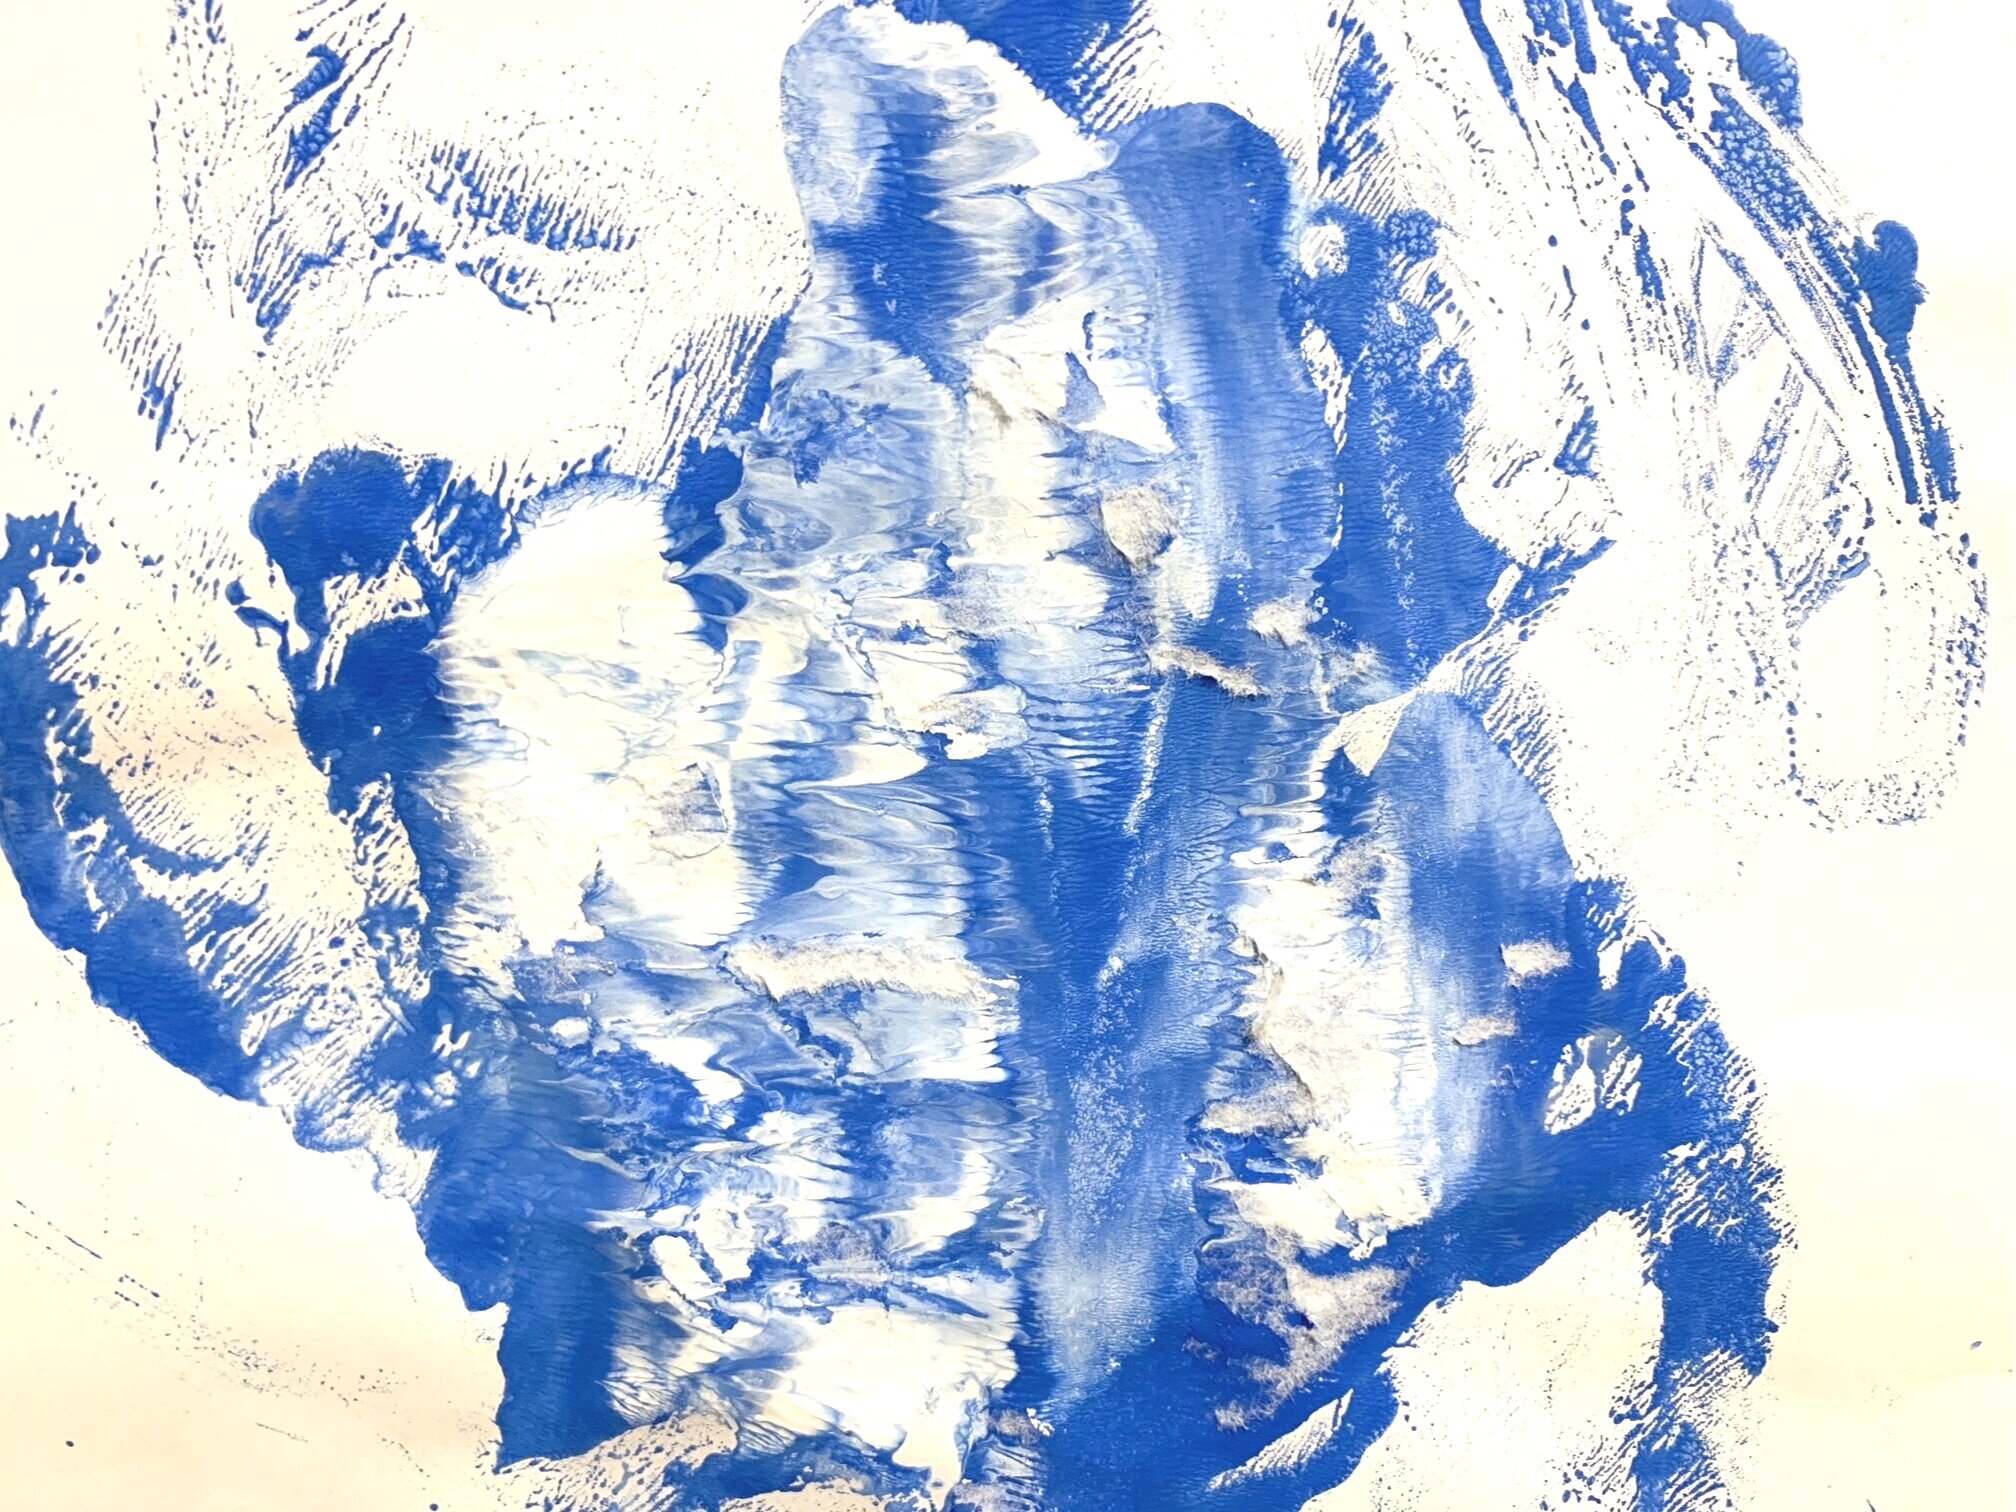
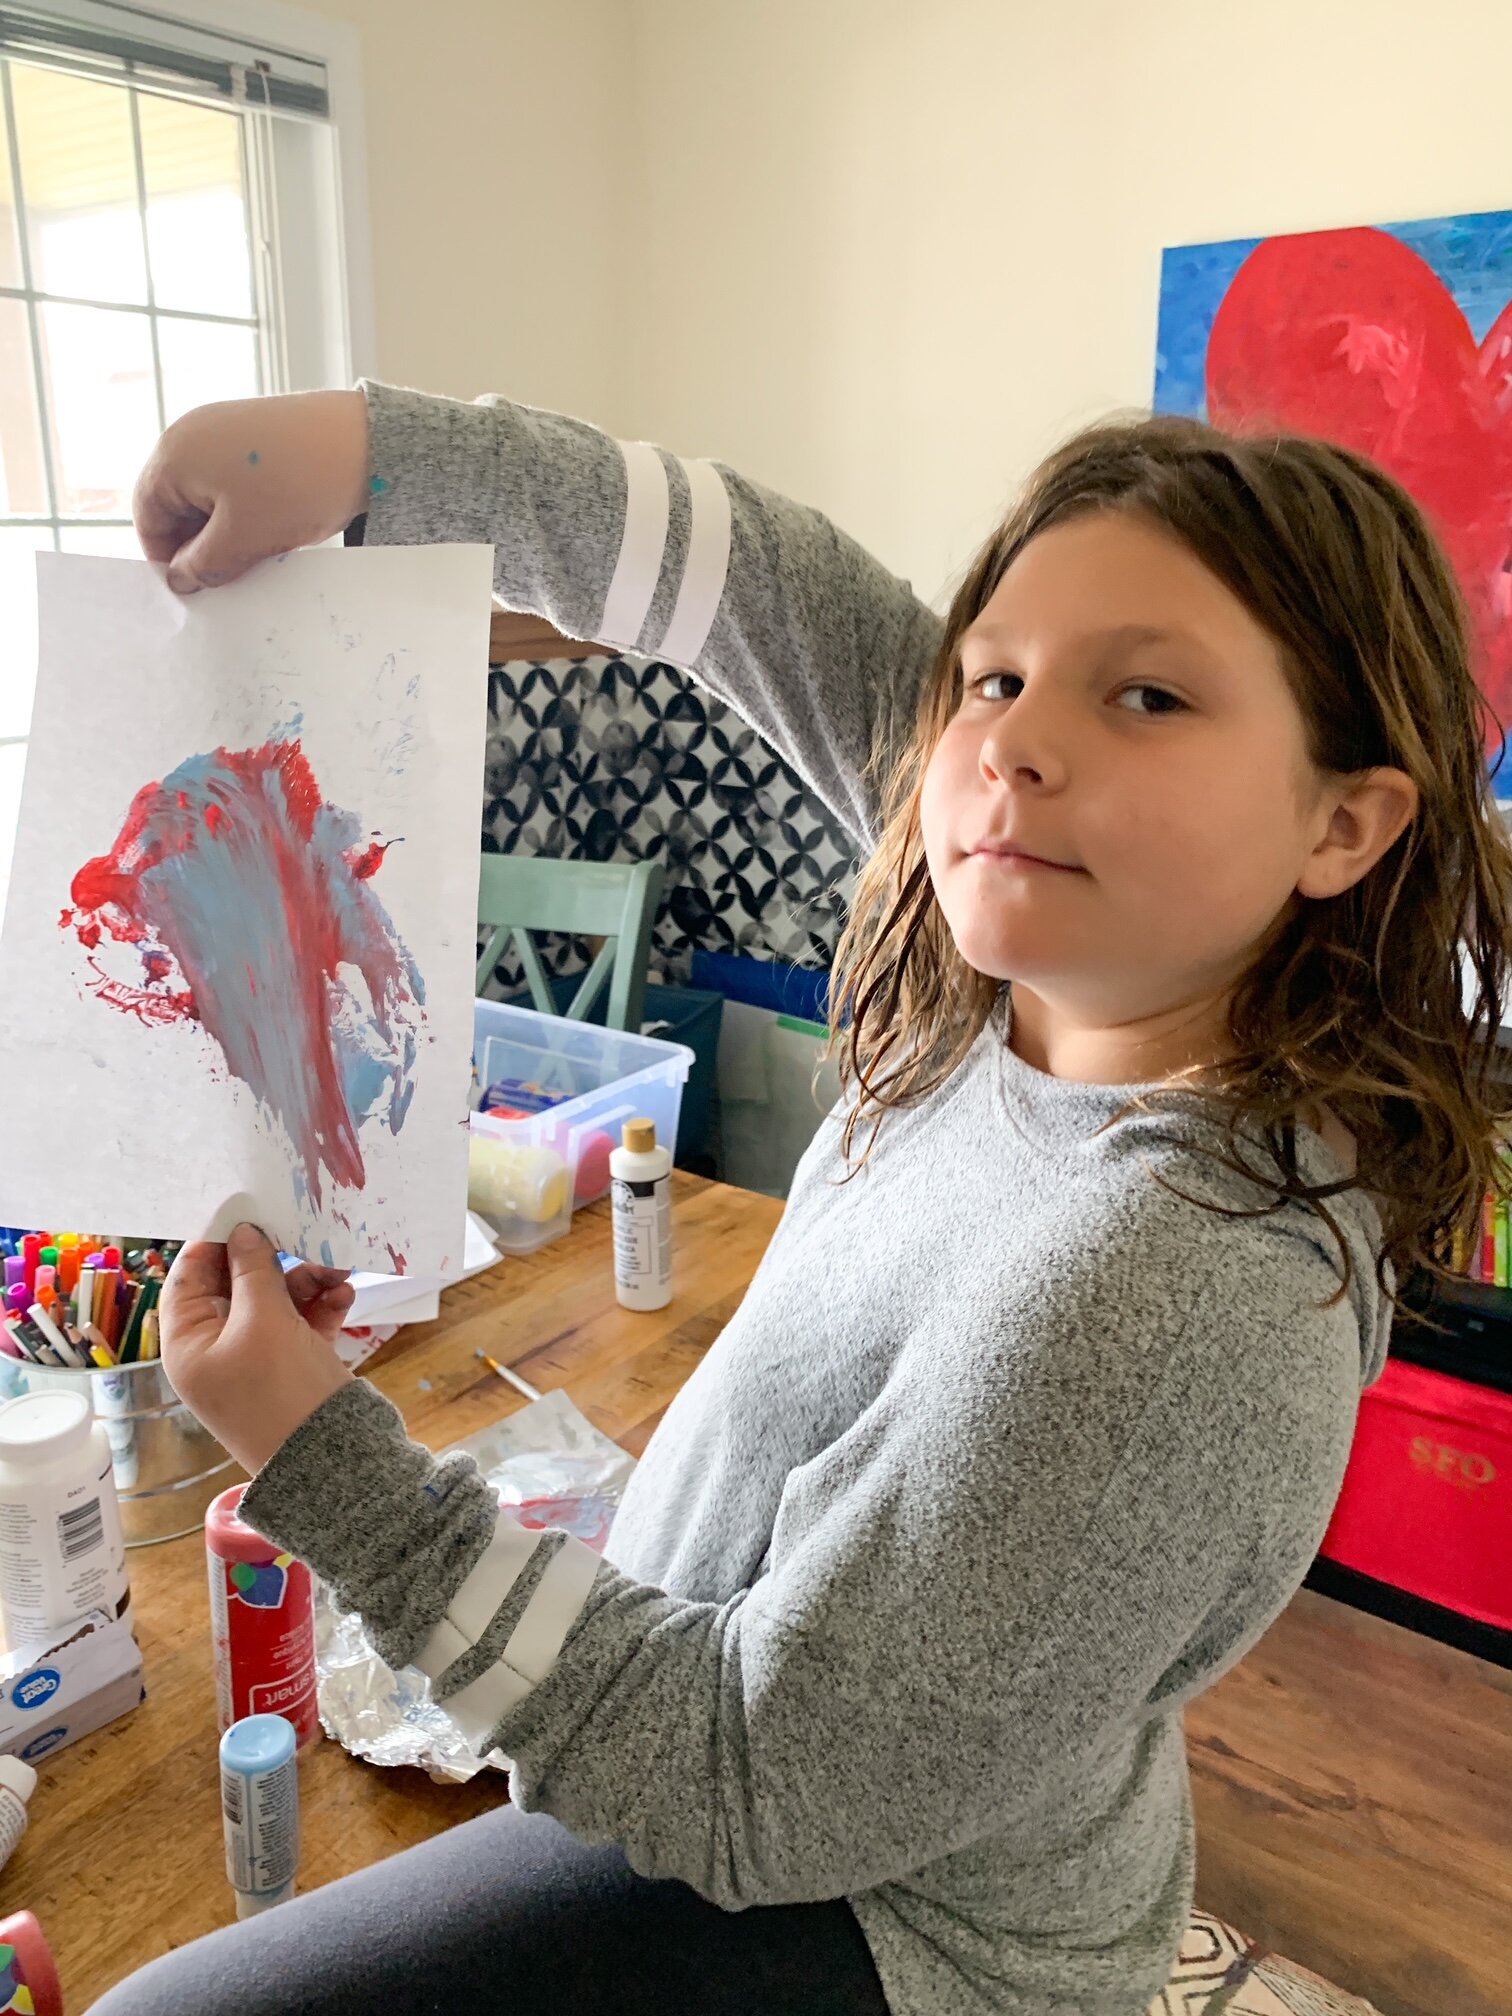
You’ll get beautiful, frame-worthy art!
Seriously!
It’s been a while (too long) since I added some art activities here. This one is awesome because it’s so easy and because the results are sometimes surprising it’s fun… like a little surprise reveal every time you lift the paper. This is process art (love, love, love). If you aren’t familiar with the benefits of process art, this is a great article that even has a printout to remind you that your child’s art doesn’t always have to look like something when finished. And here is a wonderful blog post. The whole blog is dedicated to process art! Ok. Off the soap box- let’s create!
Here’s what you need:
foil
paint
paint brushes
paper
And here’s what’s so great about this project:
Don’t have foil? No problem! Use wax paper, a baking pan, a plastic bag, plastic wrap… basically anything that will allow the paint to sit on the surface and not get absorbed.
What kind of paint? Any kind! Use washable, fingerpaint, acrylic, tempera, watercolors, dotters, whatever you have!
No paintbrushes? No worries! Use q-tips, feathers, plastic spoons, sponges, fingers, or anything else you can think of.
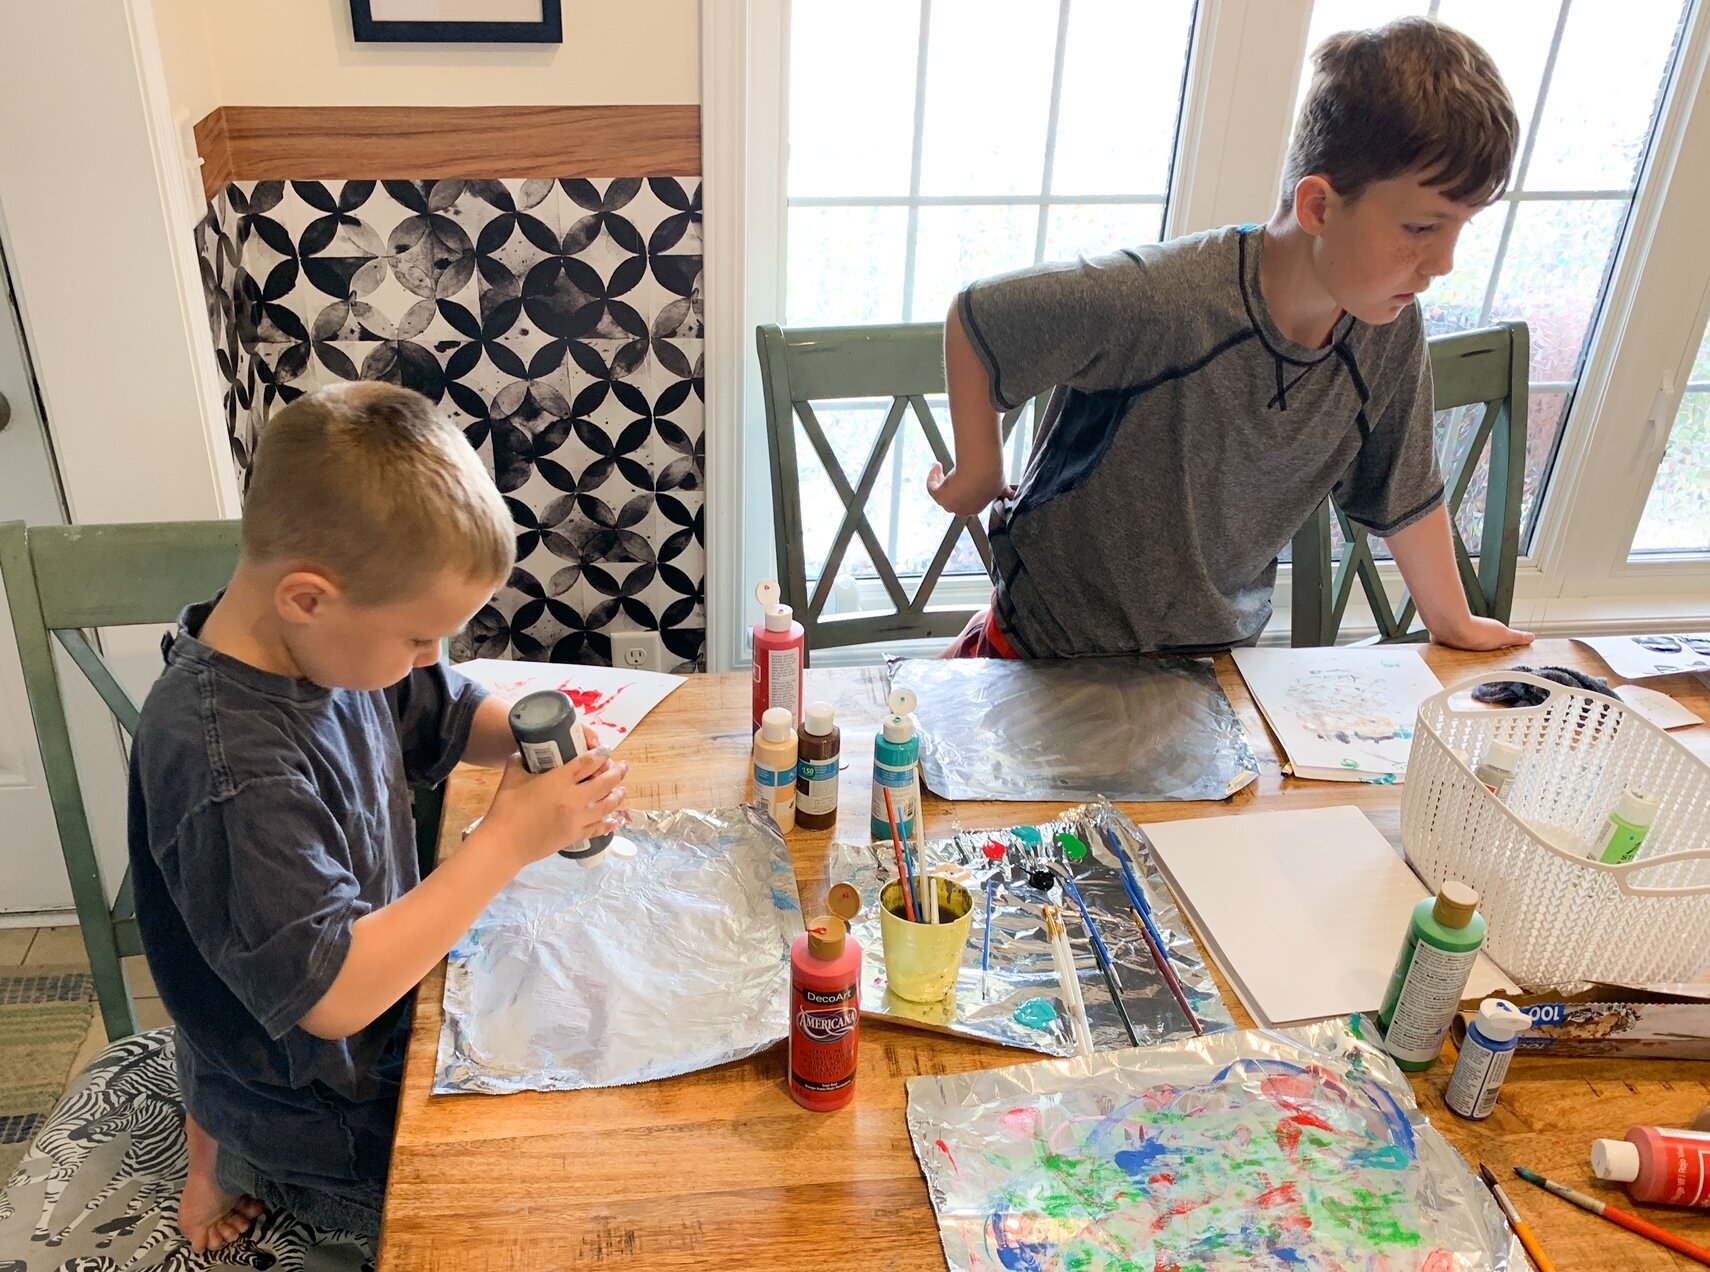
How to Make Foil Prints
Gather your supplies and know your artists: protect your surface, clothes, walls, floors, etc. as needed.
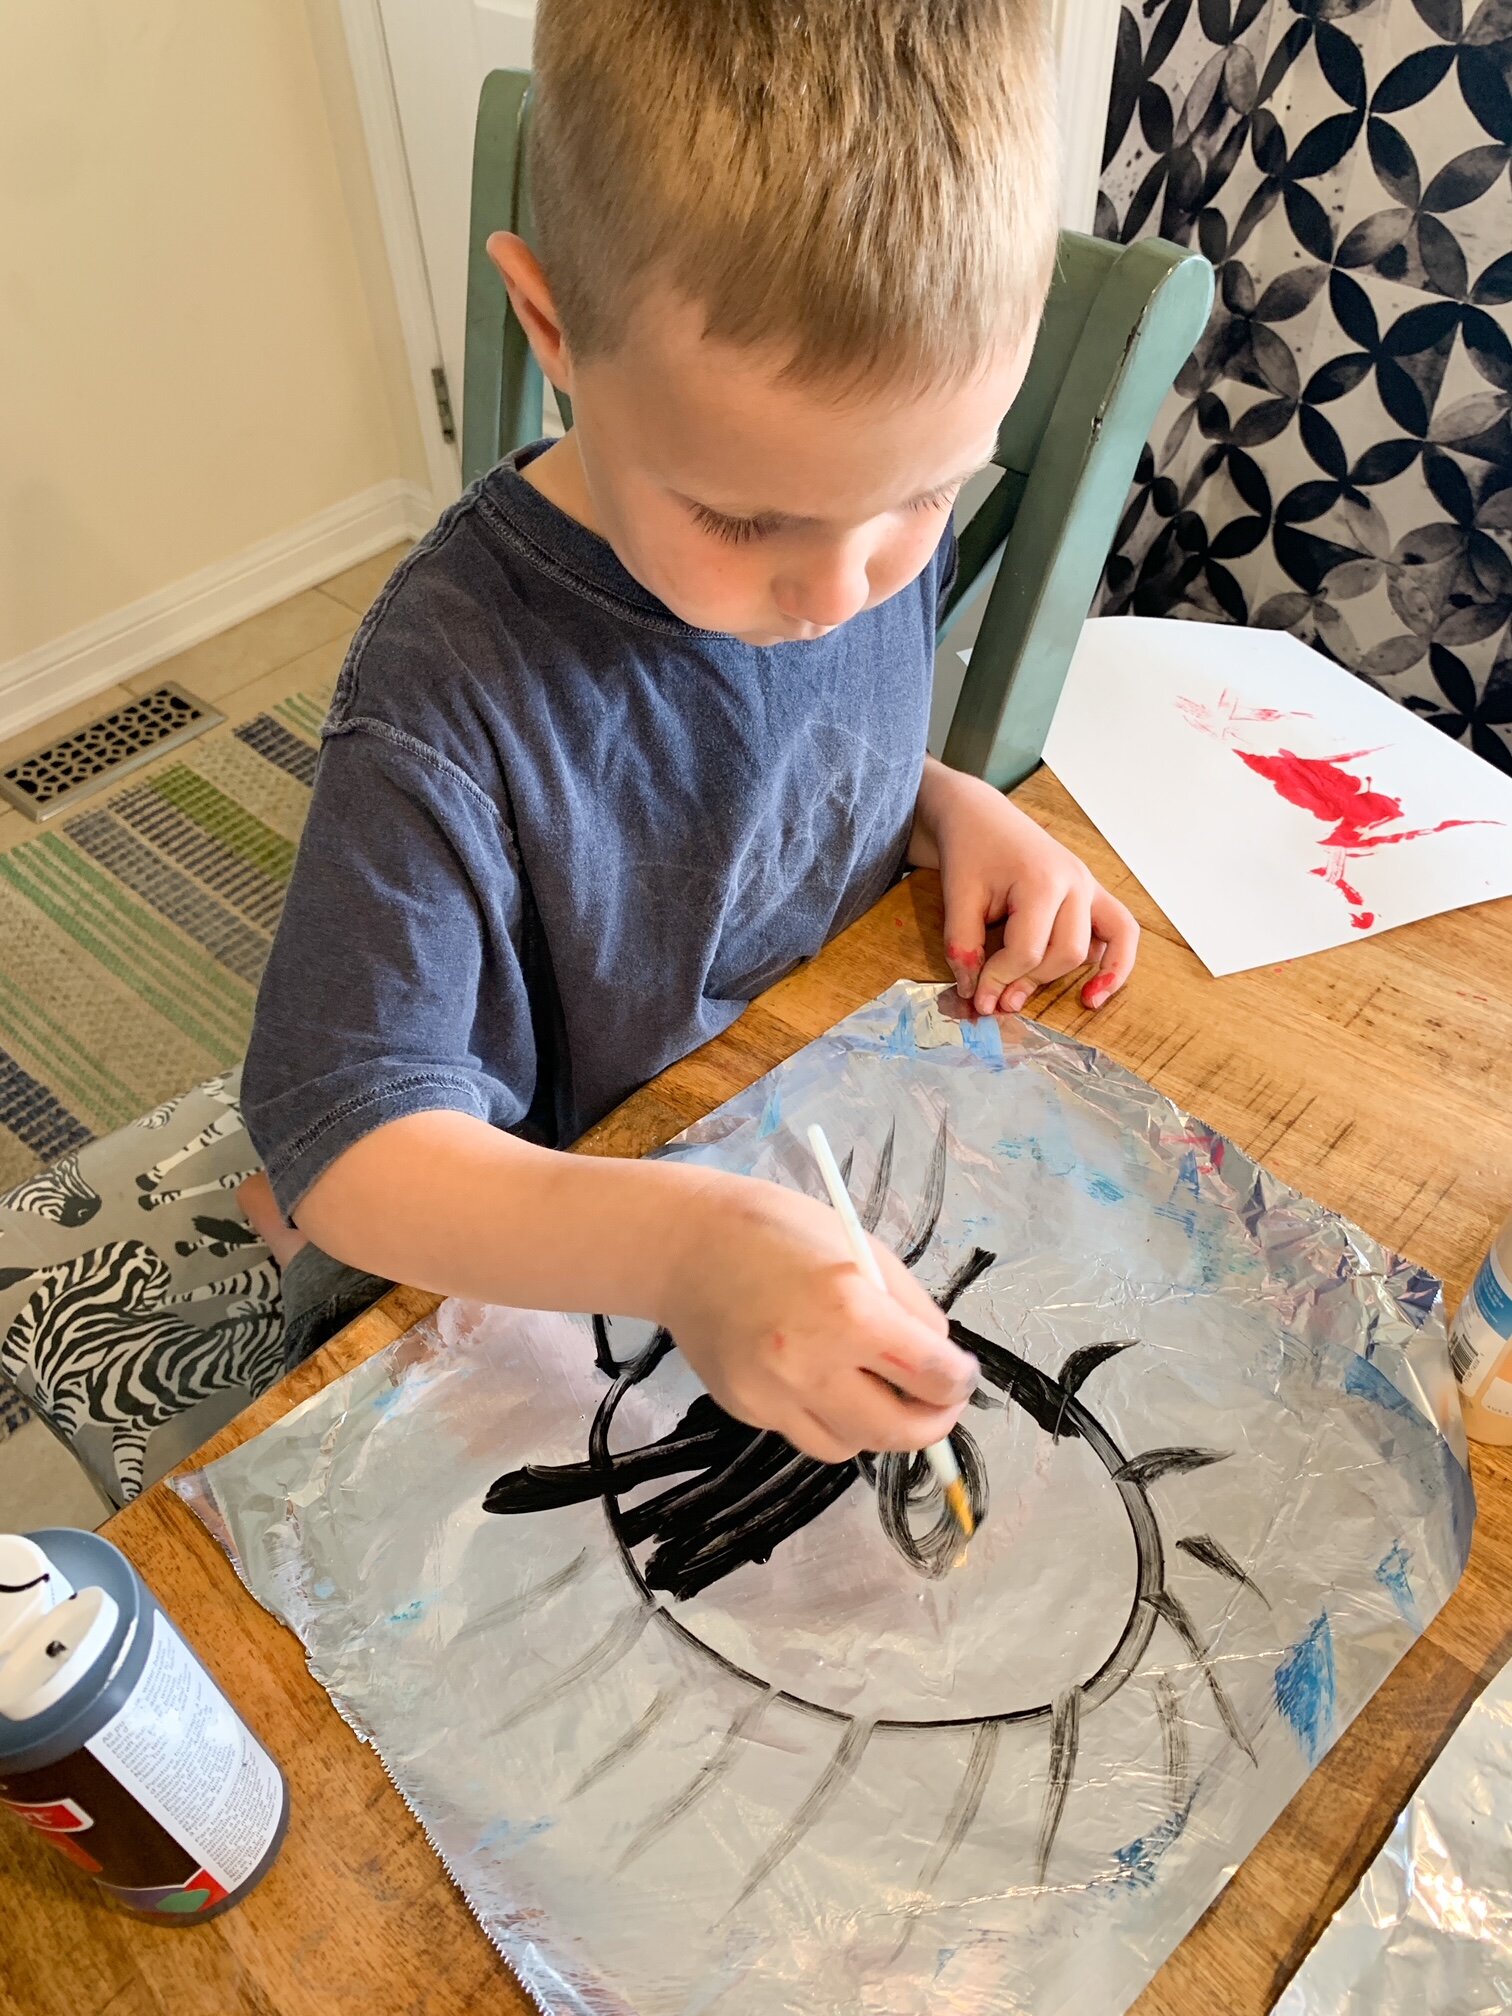
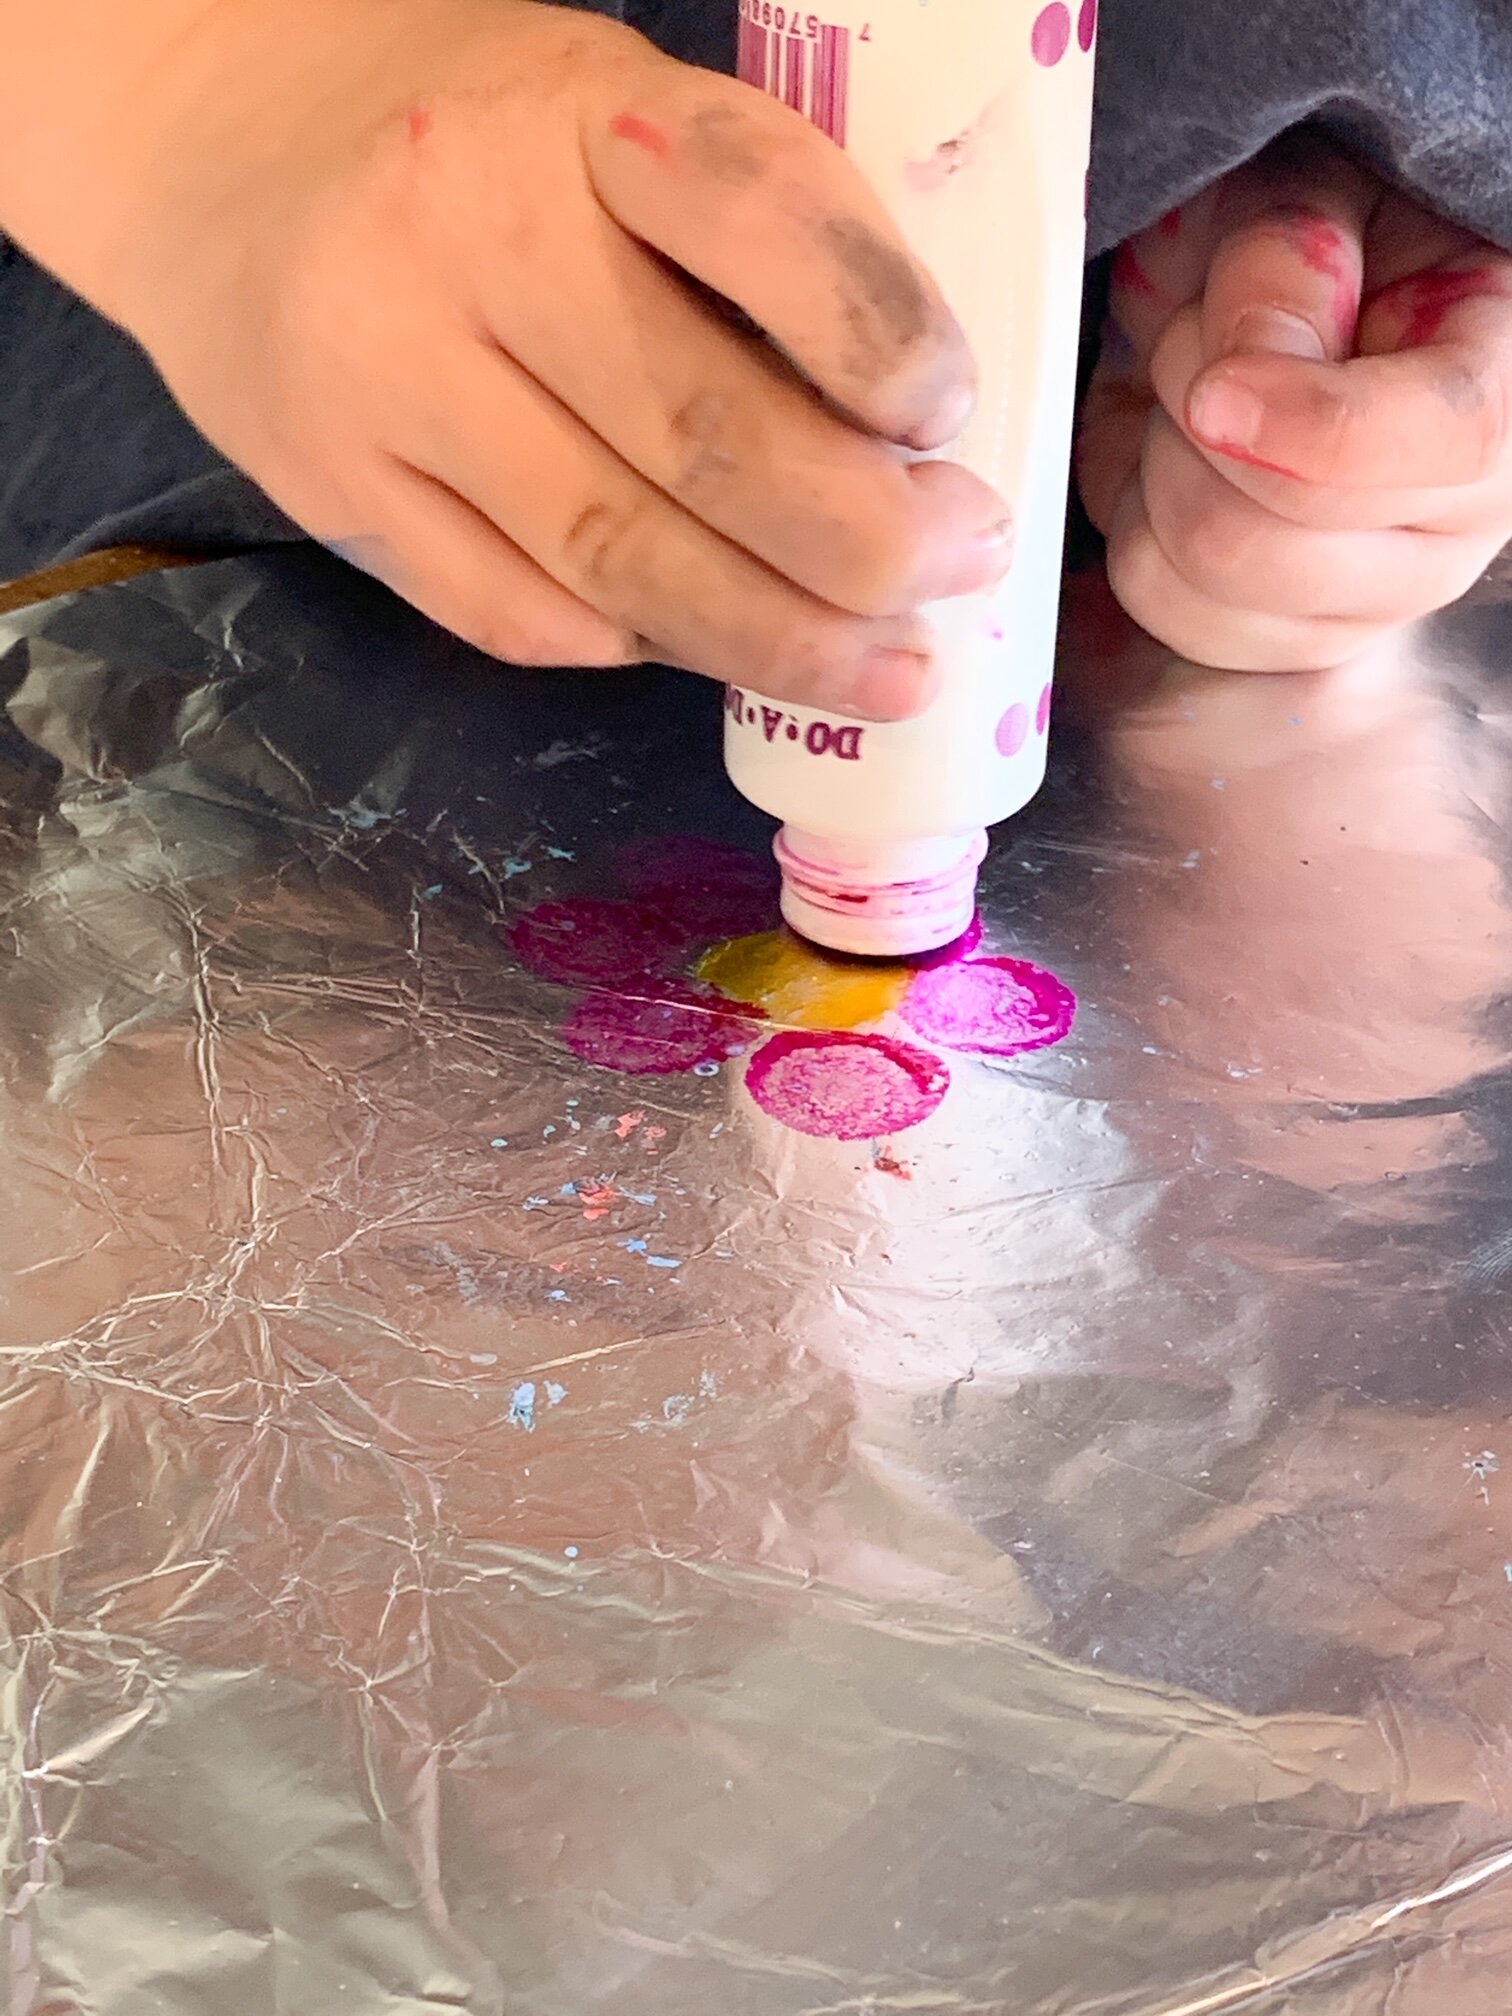
Use a SMALL amount of paint – one or two colors – and create a quick abstract design on the foil. The less paint the better. The more abstract the design the better.
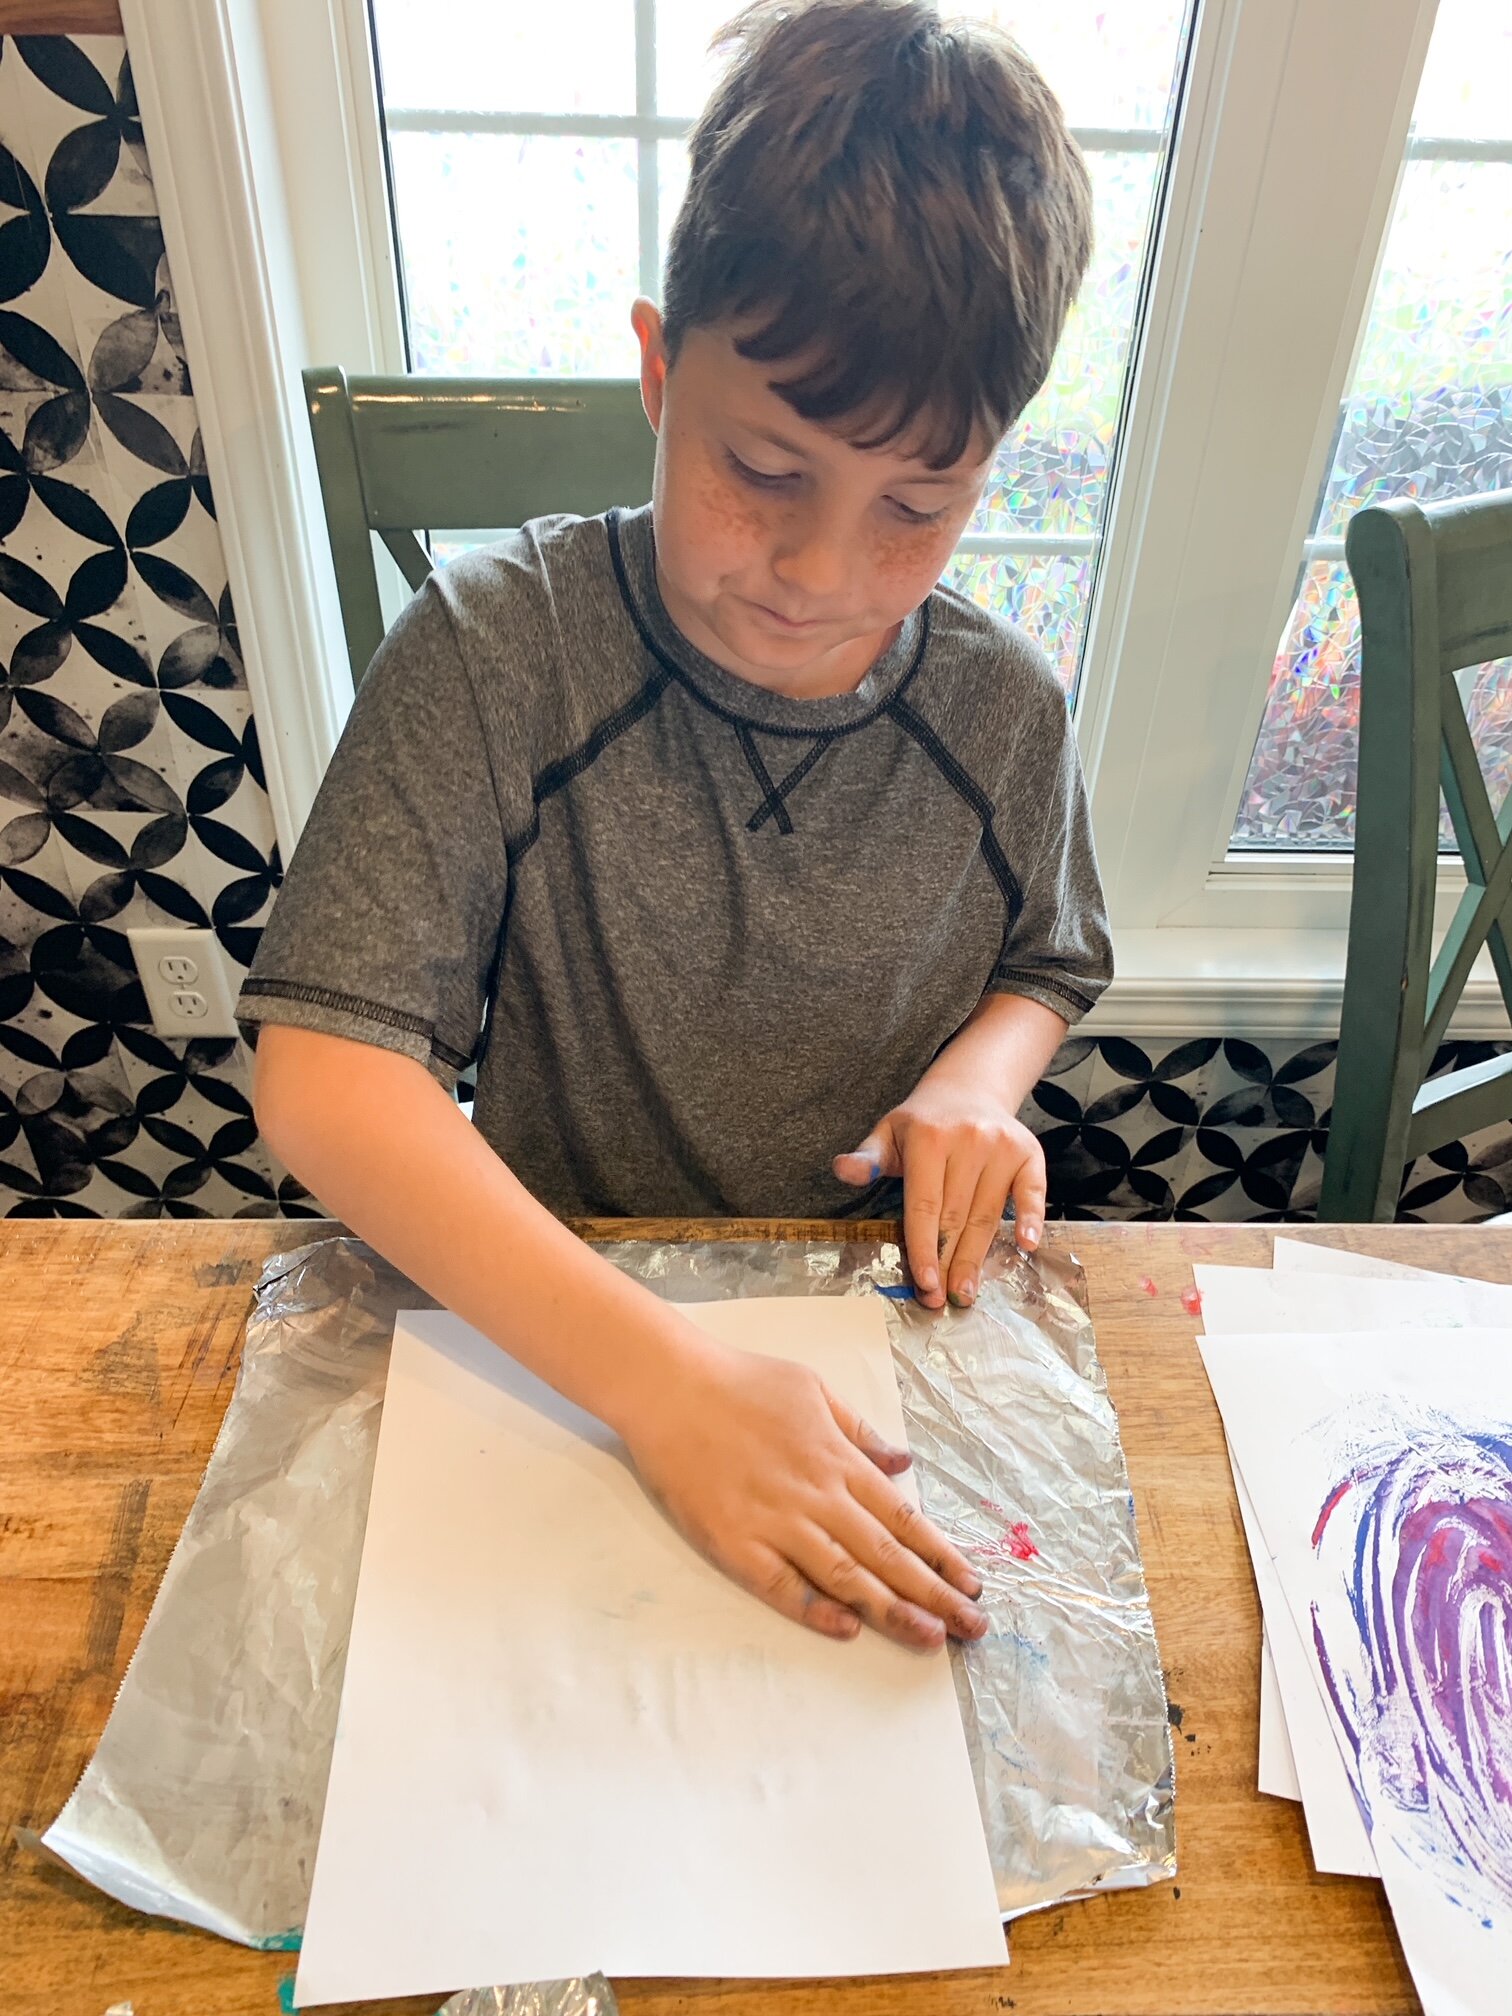
Place a piece of paper over your foil painting and press lightly. Smooth the whole paper.
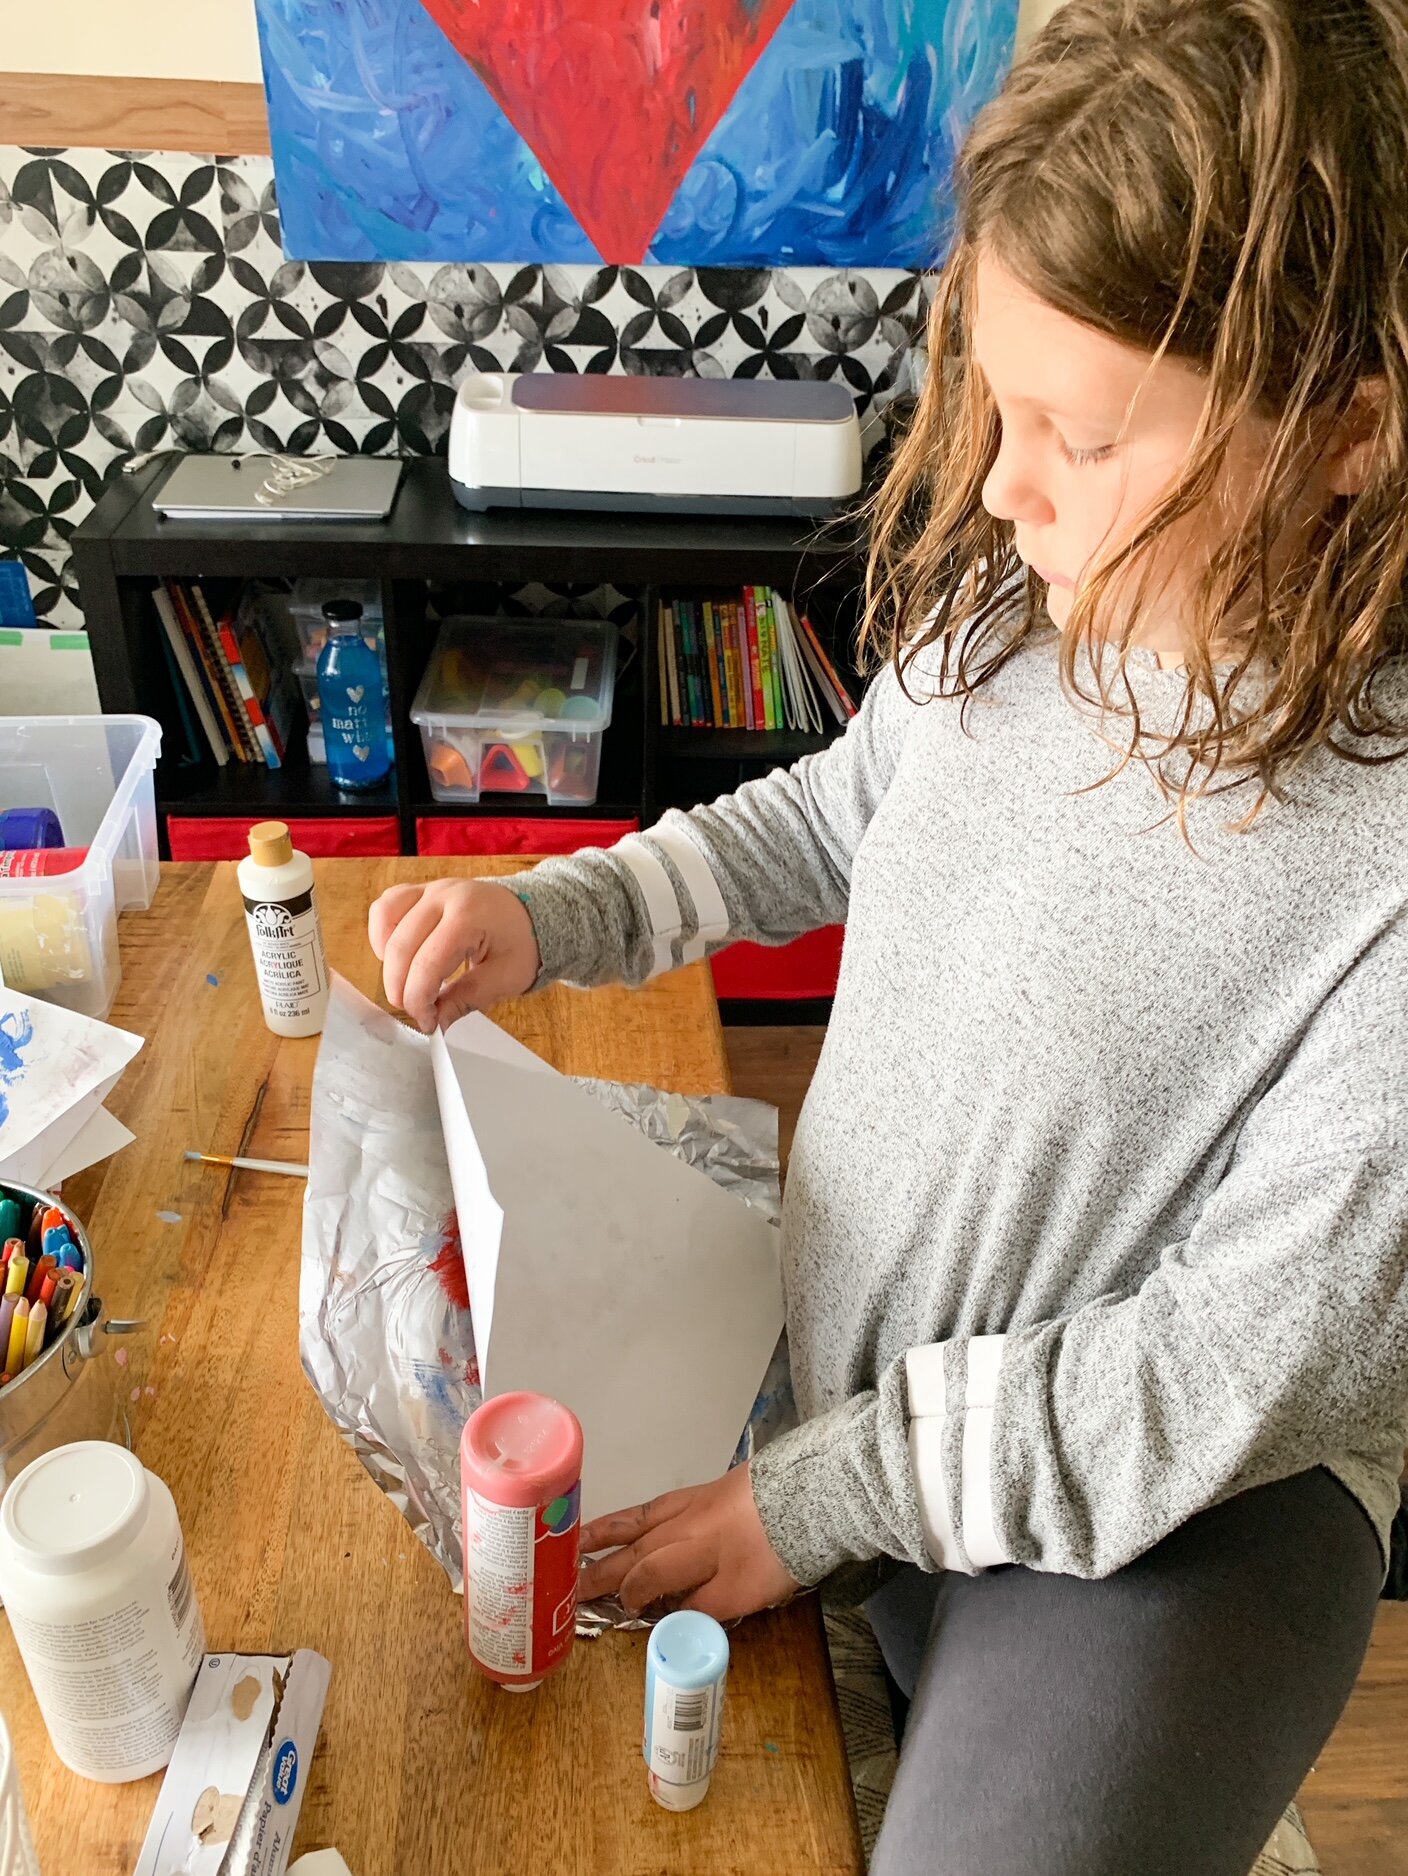
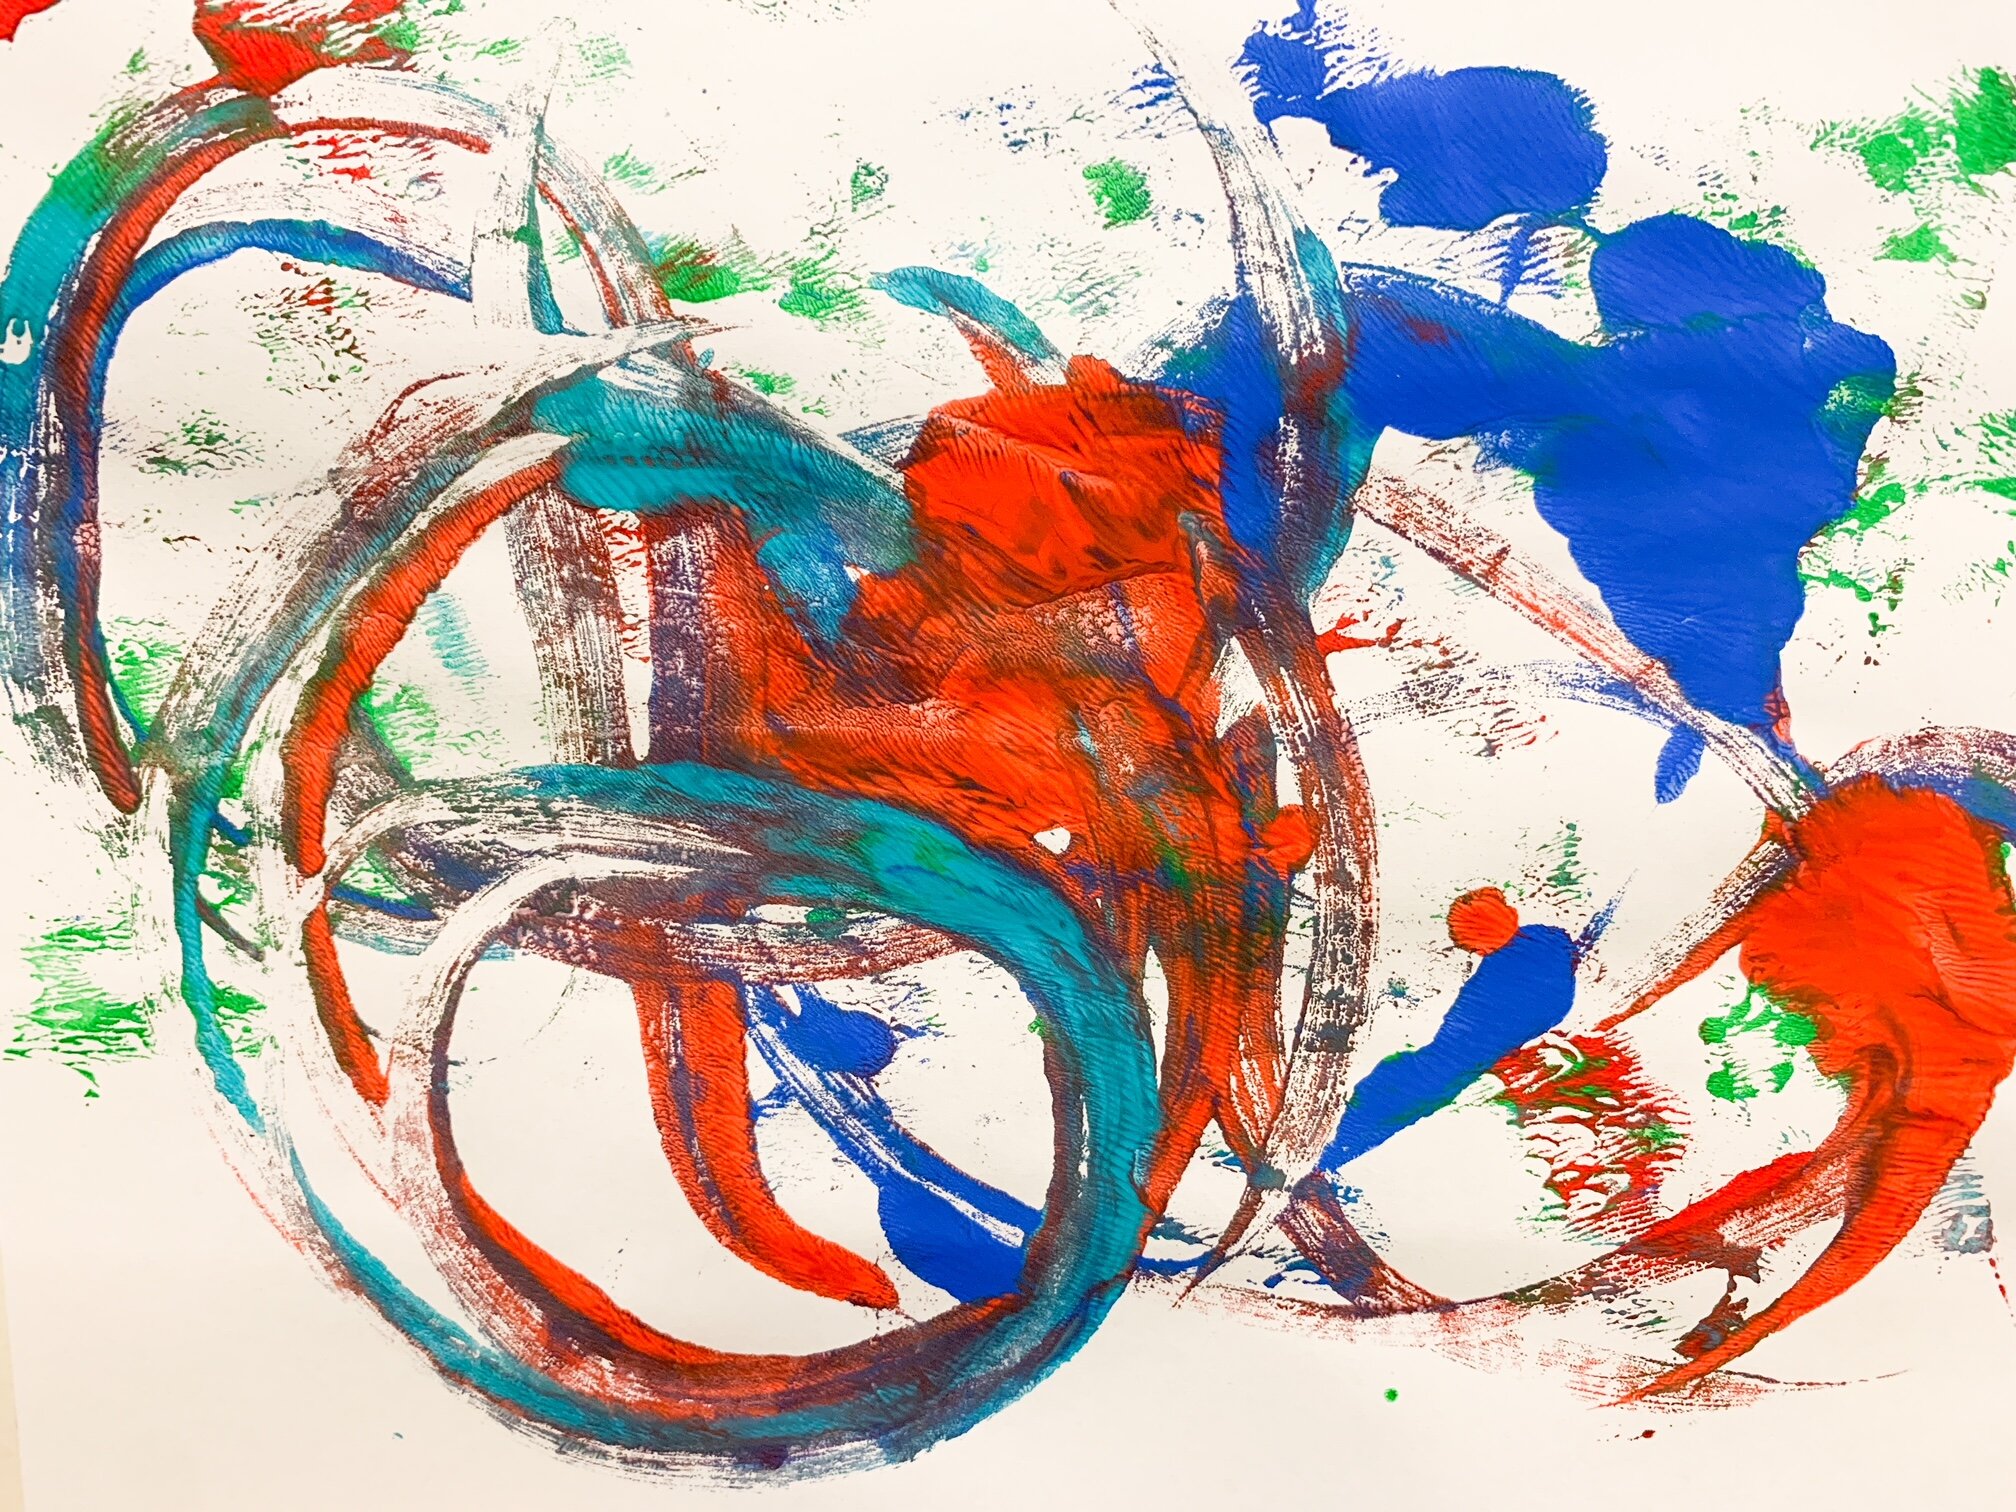
Lift the piece of paper off the foil and…
Admire your artwork!
You now have some choices:
add another color to your foil painting or wipe it with a wet rag and start over
use the same piece of paper to add another layer on top by pressing it again (after painting the foil again), or get a new piece of paper
Adaptations
Another great aspect of this activity is that it’s so easily adaptable. For example…
If you have an infant who may eat the paint, don’t use paint! Use yogurt/food coloring, or check out this edible paint recipe.
Experiment with different kinds of paints.
Experiment with different kinds of non-traditional paintbrushes.
Practice mixing colors.
Vary the size and texture of pressing paper. How do paper towels work? Coffee filters? Construction paper? Wrapping paper? Crumpled and then flattened paper?
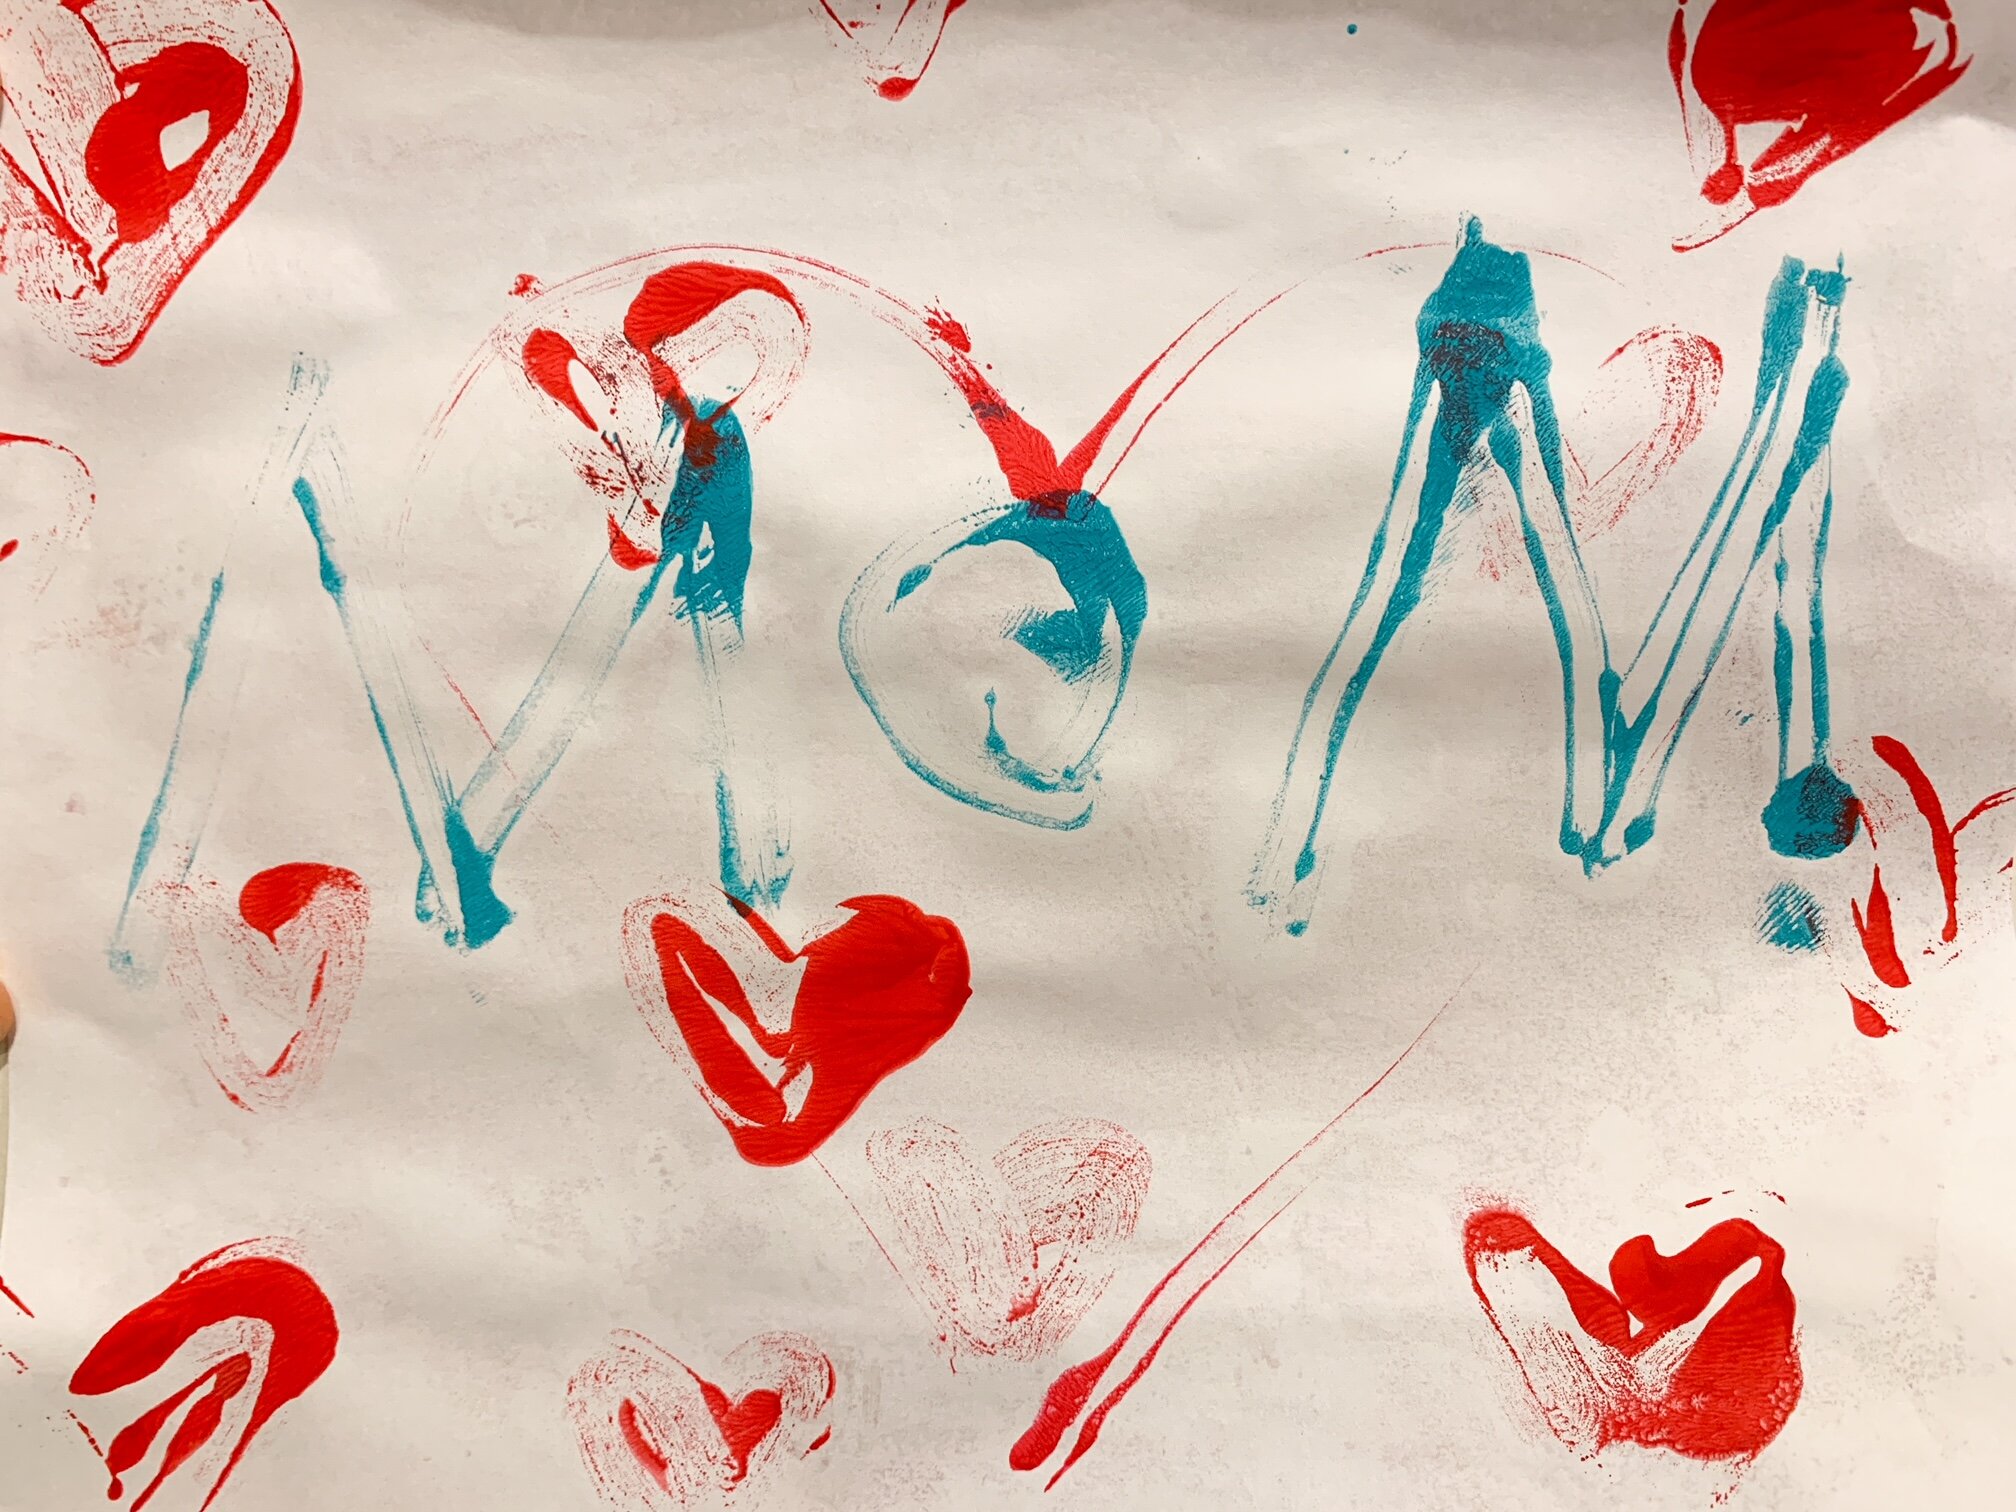
Older children can experiment with layering designs and even using words… how would you have to paint a word to have it press correctly?
A fun, easy project
It took me 3 minutes to lay out the foil and open our painting bin. We made prints for about 15-20 minutes, experimenting with letters, different paint, and layering.
Clean up was simple: toss the foil, put the paint away, wash the brushes and wipe the table.
Here’s our drying rack stuffed with beautiful art! When they dry I just might frame one!
I love easy and fun projects!